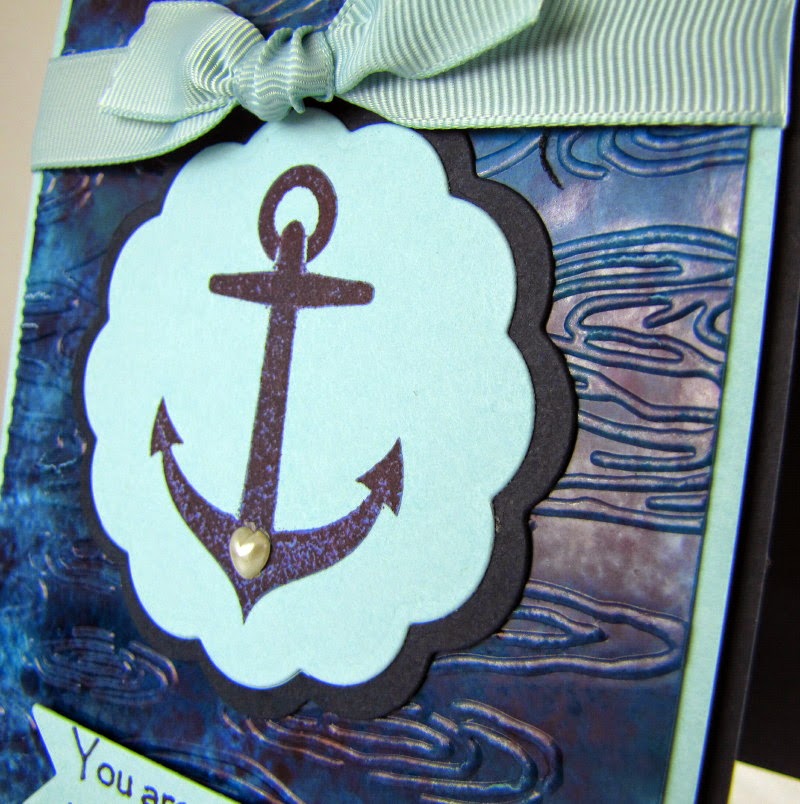
Hi Peeps! I'm here today to share a fun tutorial using my Spectrum Noir Ink Refills along with this fun Gina K Designs set called Ship to Shore. Here's the finished projects... scroll down for the picture step-by-step tutorial.
I started with 3 shades of blue ink refills (BT5, BT9, TB9), a bottle of Spectrum Noir Blender Solution, a piece of glossy cardstock, and an applicator with felt.
I use the Tim Holtz applicator and just cut scraps of white felt to go on top. I added several drops of blender solution to the felt and set it aside.
Note: You want to do this first because you need to work quickly through the process. Alcohol inks dry pretty fast so make sure you have everything ready to go.
Next, I started with my lightest color (BT5) and using the dropper that comes with the bottle, I squirted droplets of ink all over the glossy cardstock.
Then I added the droplets of the next two colors (BT9, TB9). Finally, I took my applicator (with Blender Solution on it) and dabbed it all over the glossy cardstock.
Just keep dabbing it until you get the look you want. If you have too much ink, put a new piece of white felt on your applicator with more blender solution and then dab it some more.
Note: Make sure you have your work surface covered with something other than paper (the ink will go through). Also, I like to wear rubber gloves & an apron, since this process can be a little messy.
After the piece was dry, I used an embossing folder to add some texture to the water.
While you've got your supplies out, make lots of background pieces. You'll get new results with each piece & it's fun to experiment with different color combinations!
I'll be back later in the week with more Spectrum Noir Background techniques.


2 comments:
Beautiful card!!!Thanks for sharing!!!
Thanks for the tutorial. Love the background.
Post a Comment