Hello Friends and welcome to Day #3 of the Taylored Expressions August Release Sneak Peeks! I sure love this week!!!

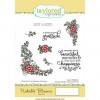
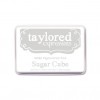
Today I am highlighting this gorgeous new Damask Embossing Folder on my wedding card. I just LOVE, LOVE, LOVE this embossing folder! I can already think of many amazing uses for it! The photo below shows it embossed on Sugar Cube Cardstock... I hope you can see it well. Click on the photo to enlarge the view, if needed. I also used the Notable Blooms and In & Out Wedding stamp sets along with the new TE Sugar Cube Pigment Ink! BEST WHITE INK ON THE MARKET!!!

I have a tutorial below... take a peek on how I made my card and colored my flowers!
Card Assembly:
Step 1: Cut Toffee cardstock 4 ¼” x 11” & score at 5 ½”
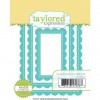
Step 2: Trim Cupcake cardstock 4 ¼” x 5 ½” & trim with the largest scallop frame from the Frame in Frame 2 Cutting Plate Dies. Attach frame to Toffee card base.
Step 3: Trim a piece of Sugar Cube Cardstock 4 ¼” x 5 ½” & trim with the largest scallop frame from the Frame in Frame 2 Cutting Plate Dies. Take the inside piece and emboss it using the Damask Embossing Folder. Attach to card base, inside the Cupcake Scallop Frame, using foam adhesive.
Step 4: Stamp sentiment using Sugar Cube Pigment Ink on Cupcake Cardstock. Heat emboss with white embossing powder.
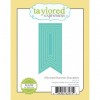
Step 5: Trim the sentiment with the Stitched Banner Stacklet and trim the ends so it fits inside the frame. Attach to the card base.
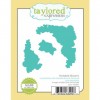
Step 6: On watercolor paper, stamp the smallest flower from the Notable Blooms stamp set using Sugar Cube Pigment Ink and heat emboss with white embossing powder. Trim with coordinating dies.
Here's how I colored the flowers:
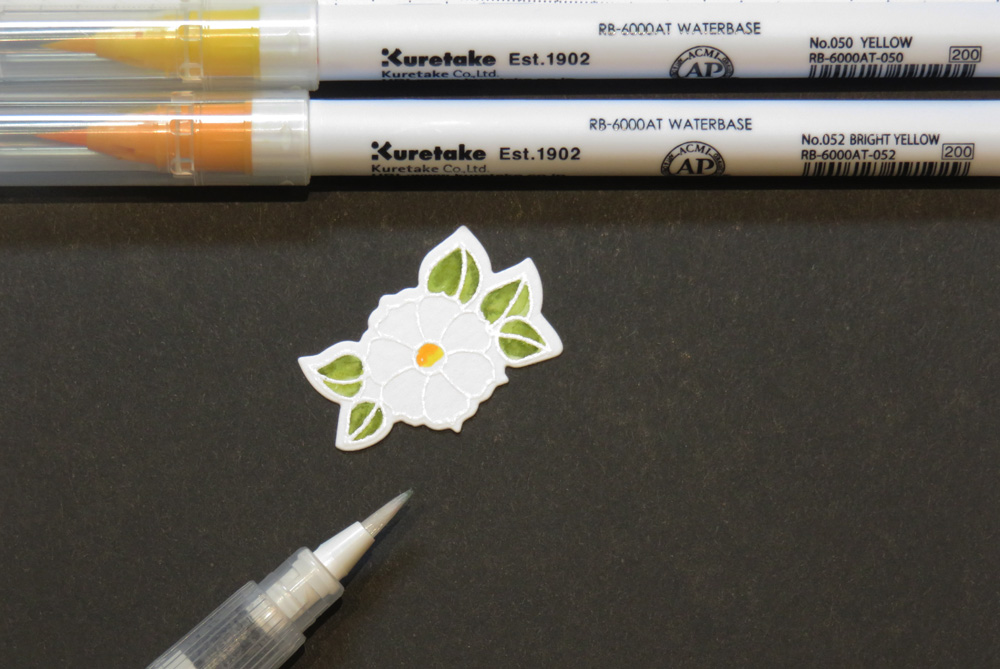
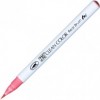
Step 1: Using the Zig Clean Color Real Brush Markers, add Mid Green and Olive Green ink to the leaves. Leave some white space for blending. NOTE: If I have multiple flowers to color, I usually like to color one complete flower first to make sure it turns out the way I like it.

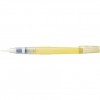
Step 2: Next I use a water brush to blend the two shades of green together. NOTE: You won’t need much water to do this because the area is very small. If you get too much water, dab it with a paper towel, let it dry for a few minutes and add more color to the area.

Step 3: Add Yellow & Bright Yellow to the center of the flower and blend with the water brush.
Step 4: Add Light Pink to each flower petal – make sure to leave some white space for blending.

Step 5: Next add Sugared Almond Pink to each flower petal.
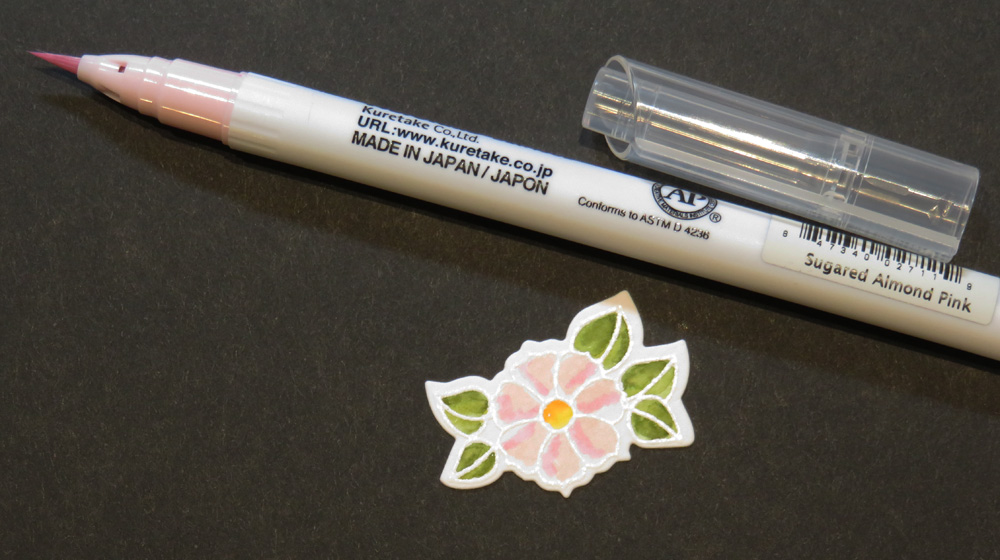
Step 6: Finally, add Tea Rose Pink to each flower petal and then blend with a water brush. NOTE: If you want more of one color, just add it from the marker and blend again with the water brush. I find it helpful to have a paper towel handy to dab excess water off my water brush.

And this is the end result. I added some glitter to the center of each flower and then attached them to the corners of the sentiment.

Taylored Expressions is celebrating Release Week with some fabulous giveaways! Visit the TE Blog each Sneak Peek Day this week to answer Taylor's Question of the Day for a chance to win a prize from the latest release.

All of the new products being shown today will be released tomorrow Thursday, August 4th! Check out what the designers have been working on for today's sneak peeks ~ links for today's designer list is on the Taylored Expressions Blog. Don't forget to leave a little love along the way!
Supplies:


No comments:
Post a Comment